


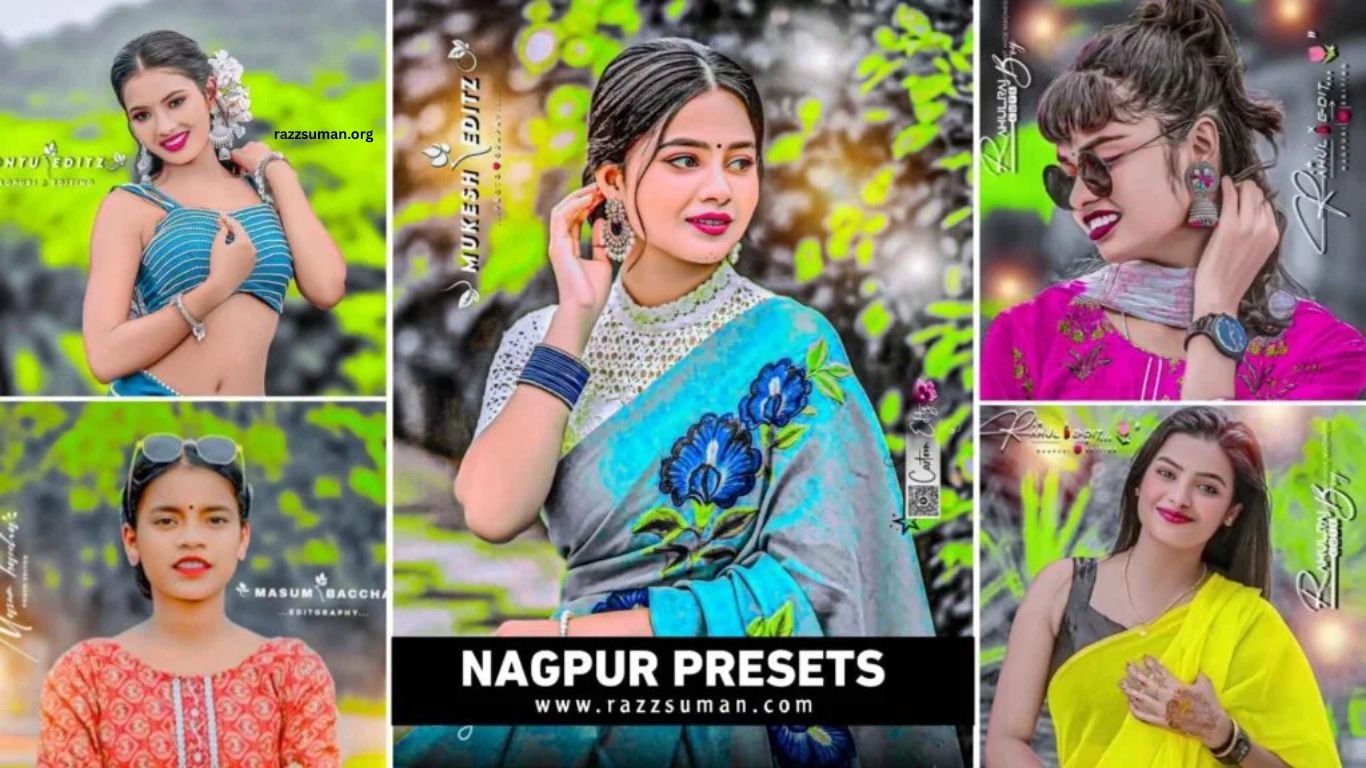
Nagpuri photo editing has become a popular trend on social media, especially for creating stylish two-tone photographs. This editing style primarily pairs black with a second color, such as red, green, blue, or yellow, creating a bold and attractive visual effect. The trend gained popularity in Jharkhand before reaching a wider audience.
Lightroom is widely used for creating this effect because its masking and color adjustment tools offer precise editing control. However, manual editing can take time. With Nagpuri Lightroom presets, you can apply the desired two-color effect quickly with just a few clicks. This guide explains how to create professional Nagpuri-style photos using Lightroom presets.
Read More: Daily Mini Vlog VN & CapCut Templates | Best Mini Vlog Templates
Complete Guide to Nagpuri Editing Lightroom Presets
Before starting Nagpuri photo editing, it is helpful to understand the style and its key elements. Nagpuri editing is inspired by the culture, traditional aesthetics, and music associated with Jharkhand. The style gained attention on Instagram as creators shared unique edits featuring dramatic colors and eye-catching visual effects.
Nagpuri editing commonly uses a black-and-white background with selected areas highlighted in vibrant colors through Lightroom’s masking and color adjustment tools. Smooth skin tones, balanced backgrounds, and personalized elements such as name signatures can make the final photo more attractive. Lightroom presets simplify the process, allowing you to create this stylish effect quickly with minimal manual adjustments.
Which Photos Work Best With Nagpuri Presets?
Nagpuri Lightroom presets work best on clear outdoor photos with good lighting and a natural background. Photos captured around lush green trees, plants, or open spaces usually produce better results because the preset can create a stronger two-tone color effect. Indoor photos or images with dark, unclear backgrounds may not deliver the same visual quality.
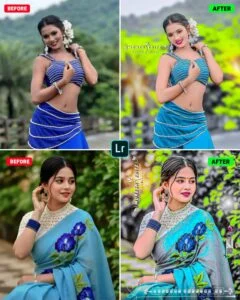
For the best results, choose a high-quality outdoor photo with plenty of greenery in the background. We have included multiple Nagpuri presets in this guide, so you can try different styles and select the one that best suits your photo. Before-and-after examples also show how the right background can enhance the final Nagpuri editing effect.
Nagpuri Lightroom Presets
How to Use Nagpuri Photo Editing Lightroom Presets
Using Nagpuri Lightroom presets is a simple way to create stylish photo edits without adjusting every setting manually. First, choose a photo that matches the preset requirements, preferably a clear outdoor image with a natural green background. Once you have selected the suitable photo and preset, open the Lightroom app and import both files from your gallery.
Open the preset in Lightroom, tap the three-dot menu in the top-right corner, and select Copy Settings. Select the required editing options, including Light, Color, Effects, Detail, and Masking. Next, open your selected photo, tap the three-dot menu again, and choose Paste Settings to apply the Nagpuri preset. If the result needs improvement, use Lightroom’s manual adjustment tools to fine-tune colors, brightness, masking, and other details.
How to Make a Nagpuri Editing Signature Logo
Adding a personalized signature logo can give your Nagpuri photo editing a unique and professional appearance. You can create a signature using apps such as PicsArt or PixelLab. Start with a transparent background, open the text tool, enter your name, and choose a stylish signature font. Adjust the size and placement to create a clean logo that matches your editing style.
To add the signature to your edited photo, open PicsArt and import your Nagpuri photo. Use the Sticker or Add Photo option to add a light-effect PNG, then adjust its blending and position for a subtle glow. Next, import your custom signature, resize it, and place it in a suitable area of the photo. This simple process creates a personalized Nagpuri editing logo.
Frequently Asked Questions
What are Nagpuri Lightroom presets?
Nagpuri Lightroom presets are ready-made editing settings designed to create stylish two-tone Nagpuri photo effects.
Which photos work best with Nagpuri presets?
Clear outdoor photos with natural greenery and good lighting usually provide the best results.
Can I use Nagpuri presets on mobile?
Yes, Nagpuri presets can be used in the Lightroom mobile app for quick photo editing.
How do I apply a Nagpuri preset?
Import the preset, copy its settings, open your photo, and paste the settings in Lightroom.
Can I customize Nagpuri presets?
Yes, you can manually adjust colors, brightness, effects, masking, and other settings after applying the preset.
How can I add a Nagpuri signature logo?
You can create a signature using PicsArt or PixelLab and add it to your edited photo.
Conclusion
Nagpuri Photo Editing Lightroom Presets 2026 provide a simple way to create stylish, colorful, and professional-looking photos. With the right outdoor image, suitable preset, and a few Lightroom adjustments, you can achieve an attractive Nagpuri editing effect quickly. Adding a custom signature logo can make your photos more personal and unique. Try different Nagpuri presets, adjust the settings according to your photo, and create an editing style that reflects your creativity.
