


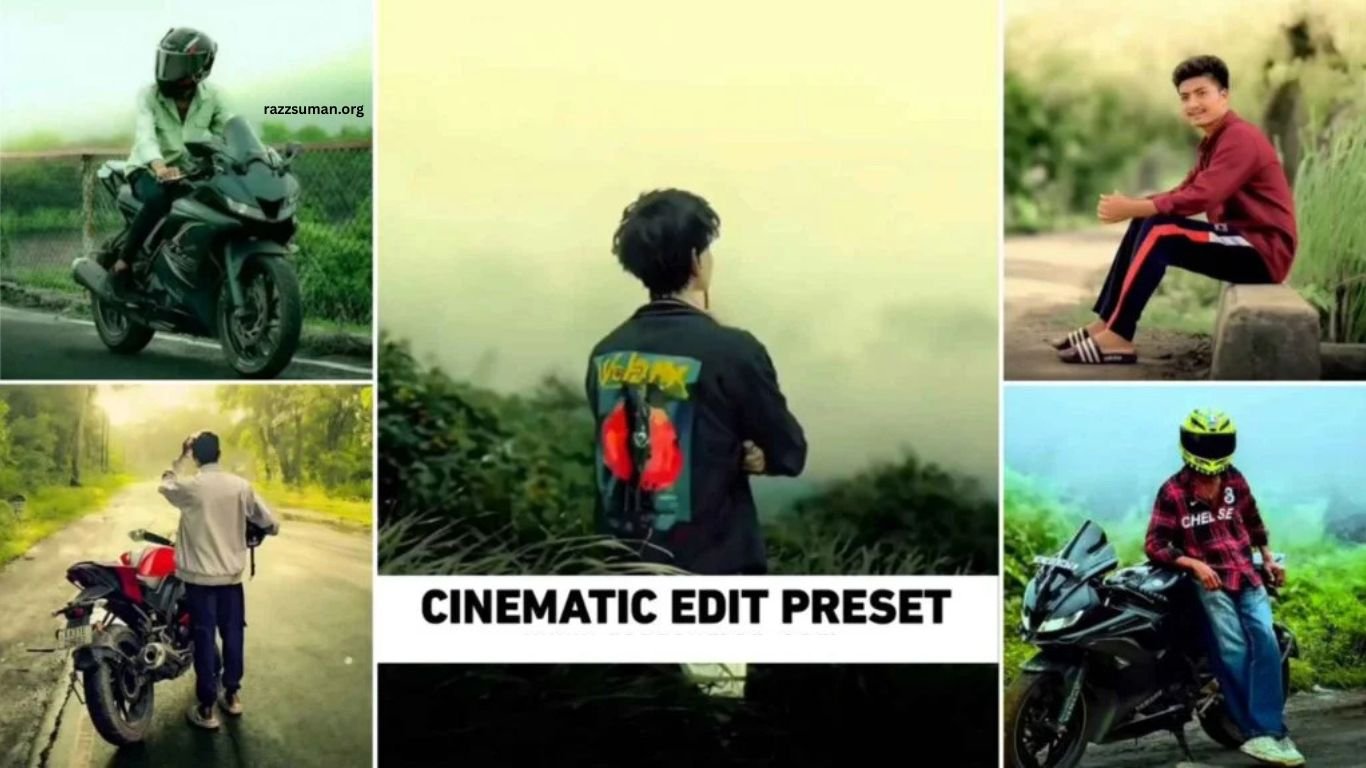
Lightroom Cinematic Presets have become increasingly popular on Instagram, where creators transform ordinary photos into stunning cinematic visuals. This editing style adds a professional, dramatic, and attractive appearance that instantly makes photos more engaging. While AI tools can create cinematic effects quickly, many users prefer manual editing through the Lightroom app for greater control and customization.
In this article, we will explore Lightroom presets designed specifically for cinematic photo editing. These presets make it easier to transform different types of photos with a polished cinematic look without spending hours adjusting every setting manually. Whether you are a beginner or an experienced editor, Lightroom cinematic presets can help you achieve professional-looking results quickly and creatively.
Complete Details About Lightroom Cinematic Photo Presets
Cinematic photo editing transforms an ordinary image into a scene that resembles a movie frame. It focuses on color, lighting, contrast, shadows, and mood to create a dramatic and professional appearance. Color grading plays a major role in this process, with popular cinematic styles often featuring teal and orange tones, deeper shadows, enhanced highlights, and balanced contrast. Subtle background blur can also help bring the main subject into focus, while film grain and texture add an authentic cinematic feel.
Creating these effects manually can take considerable time, especially for beginners. Lightroom Cinematic Presets simplify the process by providing professionally adjusted settings that can be applied to your photos quickly. Instead of changing every adjustment individually, you can apply a suitable preset and fine-tune the result according to your photo. Vignette, color tones, lighting, contrast, and other effects can be adjusted within Lightroom to achieve a polished cinematic appearance with minimal effort.
How to Use Lightroom Cinematic Photo Edit Presets?
Using Lightroom Cinematic Photo Edit Presets is a simple way to give your photos a professional and cinematic appearance. We have provided several preset styles that work especially well with outdoor photos because natural lighting helps produce better results. Before starting, save the presets to your phone and select a clear, high-quality photo with good lighting. Although some presets can also work with indoor images, outdoor photos generally deliver the best cinematic effect.
Follow these simple steps to apply the presets in Lightroom:
- Install and open the latest version of the Lightroom app.
- Import your photo and the downloaded cinematic preset into Lightroom.
- Open the preset, tap the three-dot menu in the top-right corner, and select Copy Settings.
- Select the editing settings you want to copy, including Light, Color, Effects, Detail, Crop & Geometry, Masking, and other available adjustments.
- Open the photo you want to edit, tap the three-dot menu, and choose Paste Settings.
- Lightroom will instantly apply the copied settings and create a cinematic color effect.
- Fine-tune the brightness, contrast, colors, shadows, and other settings according to your photo.
- Once the editing is complete, tap the Share button at the top and save your finished cinematic photo.
How to Install Lightroom Cinematic Photo Editing Presets
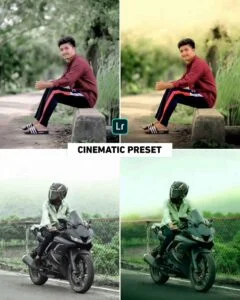
Installing Lightroom Cinematic Photo Editing Presets on your device is a simple process. After selecting the preset you want to use, follow the download steps to save it to your phone and prepare it for Lightroom. Scroll to the preset section, where you will find the preset name below the before-and-after editing examples.
Tap the preset name, and it will open in Google Drive. Select your preferred preset and tap the Download button at the top to save it to your device. Once downloaded, open your phone’s gallery or file manager, select the saved presets, and import them into Lightroom. You can also select multiple presets at once and add them to Lightroom together, making the setup process faster and more convenient.
Frequently Asked Questions
What are Lightroom Cinematic Presets?
Lightroom Cinematic Presets are ready-made settings that give photos a dramatic, movie-inspired look.
How do I use cinematic presets in Lightroom?
Import the preset, copy its settings, paste them onto your photo, and adjust the results if needed.
Do cinematic presets work on all photos?
They can work on most photos, but results are usually better with clear, well-lit outdoor images.
Can beginners use Lightroom Cinematic Presets?
Yes, presets are beginner-friendly and make professional-style editing much easier.
Can I customize a cinematic preset?
Yes, you can adjust exposure, contrast, colors, shadows, highlights, and other settings.
Are Lightroom Cinematic Presets free?
Some cinematic presets are available for free, while others may require payment.
Conclusion
Lightroom Cinematic Photo Editing Presets make it easier to transform ordinary photos into professional, dramatic, and movie-inspired visuals. With ready-made color, lighting, contrast, and mood adjustments, users can achieve attractive cinematic results without spending hours editing every setting manually. Whether you are a beginner or an experienced editor, these presets can simplify your workflow and help create consistent results.
